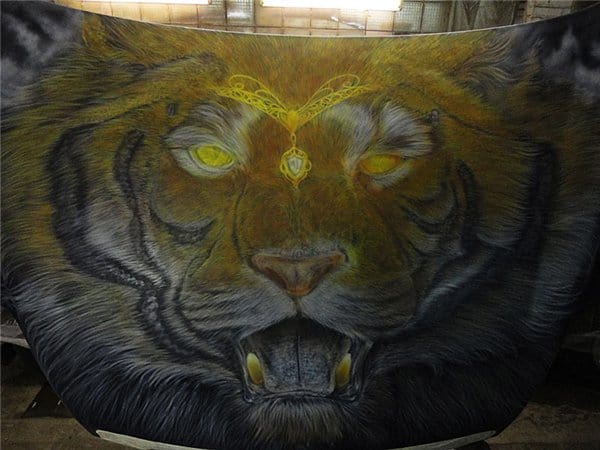
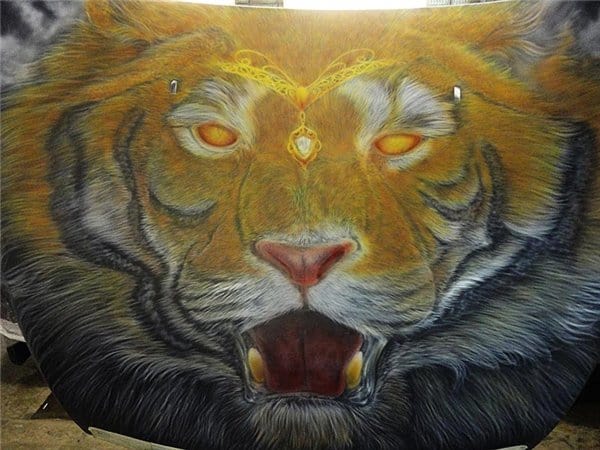
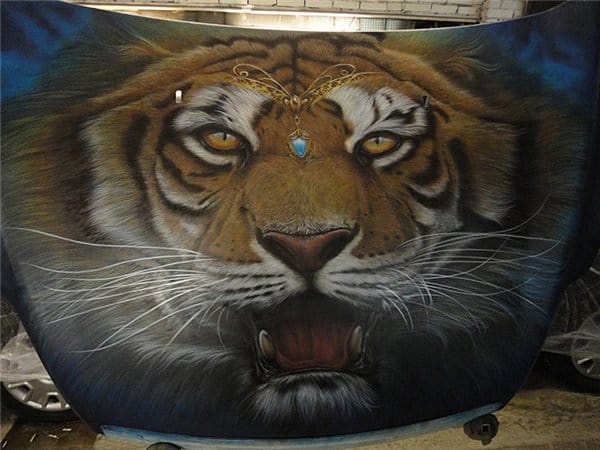
The tiger (Panthera tigris) is the largest cat species, this means that this animal has some power. But that’s just a fact that actually may be one of the reasons why people want them painted or maybe simply because it’s the most beautiful beast out there?
I think you know your reasons. And if you decide to airbrush a tiger this short step by step guide may help you with that. If you remember some time ago I’ve had a tutorial with scorpion on the car hood. Its author will show you today how he did the tiger using very similar technique. Enjoy!
I hope this tutorial is going to help you in your life or in your further career.
What do you need to prepare?
Rotation polishing machine, Abranet-400 disks, soft pad, Scotch-Brite, degreaser (Body Antisicone), DuPont paint Black (1-2), White (1-2-3), Orange (1-2), Red (1-2), Blue (1-2), Light Blue(1-2), Yellow(1-3), Reducer and airbrush gun (I don’t even remember which one I used). Let’s go!
After we’ve prepared the surface we’ll start with white and paint the whole image in kind of negative from a to z, every small detail, every hair even if you going to hate it after a few hours but get it all up.
I hope your mood will last and will be the same as when you started (this kind of procedure helps me to train my nerves, it’s like stainless steel now ;))
Now it’s the right time to lay some colors. I hope you guessed correctly which one is first.
Add some RED
Mix some BROWN (orange + black)
Don’t forget about BLACK
Now we’ll take light blue color and lightly spray it over white base and on some pieces of the cruncher (but not too much!). Then we need a regular blue to connect the light blue with the car color.
We can even add a drop of black to make the transition looks at it’s best.
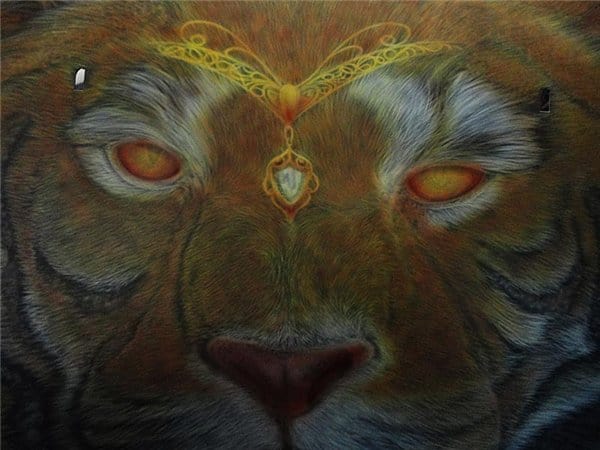
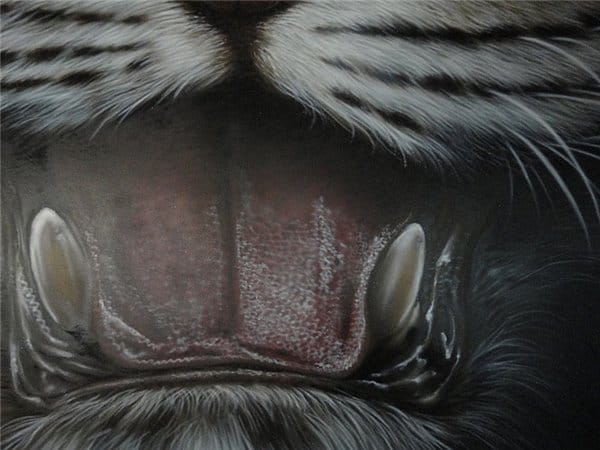
After all, again my favorite, WHITE color ;) to bring alive the light parts of the fume, teeth, eyes and please don’t forget to smile – I hope you are enjoying what you’re doing right now ;))
Here I have to apologize, I was a bit tired switching between camera and airbrush, so I’ve missed to take few snaps but to be specific, right after white I used black to dim the white a little and also you should use other color to make it warmer or colder, that depends on which of these tones you prefer.
That’s actually all from Artistic part. After I finished the beast I covered all with clear coat (Roberlo HC350 – 4 layers). Then comes polishing. I used sand paper (1500, 2000) wet way to get rid of all dust and all the unevenness from the surface. Who wants can do all that with rotation polishing machine.
After sand-paper I used polishing pastes from 3M (74, 76).
The whole project took 3 days to accomplish and here is the result.

Антонов Сергей Александрович – http://www.cliaksa.ru/
Isn’t that just AWESOME? I think that this tutorial “Airbrush a Tiger” can motivate anyone to create something similar because when you read it and it sounds so easy, be careful, don’t overestimate your possibilities or your skills. I’ve already became a big fan of this guy, what about you? If you like his art too then don’t forget to share, like a tell your friends to check it out!


